

Step by step
- Login into your Vercel Account with your preferred authentication method.
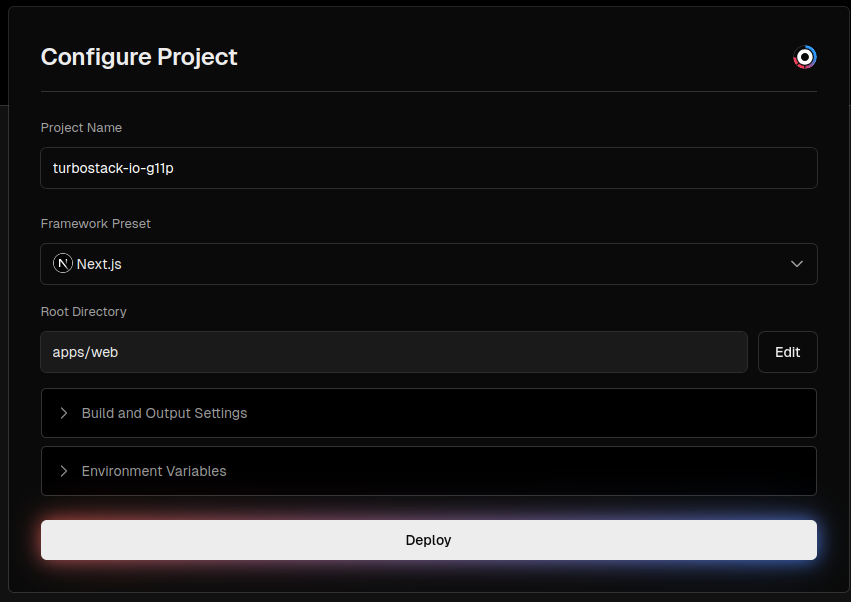
- Click the “New Project” button.
- Select your TurboStack project.
- Select
/apps/webas root directory of your project.
- Set up your environment variables.
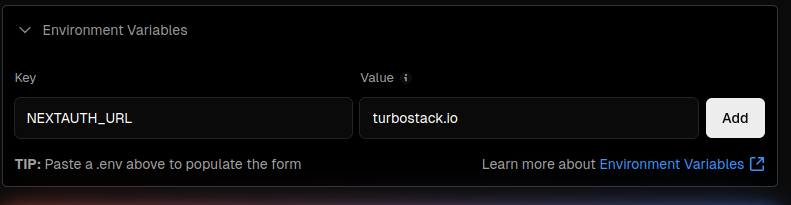
.env.example and .env.local either):
- Click “Deploy” button and wait until the magic happens!
Add your Domain
- Go to Vercel’s “Dashboard Page” and pick the project you created before.
- Navigate to Settings > Domains page.
- From Domains page, create two domains, one for your marketing page, and one for your application page. If your host are
myapp.com, then createmyapp.comandapp.myapp.com.
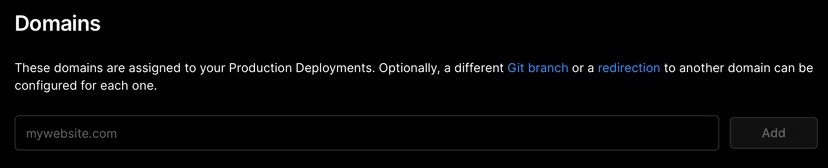
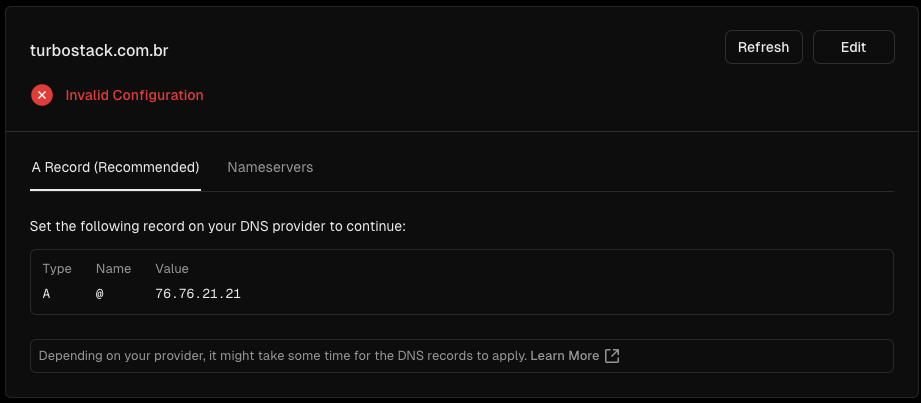
- After that, you will have a brand new domain, but non-productive yet. You’ll need to setup your DNS Records to make your Registrar points your domain to Vercel’s created domain:
Configuring your DNS
- Proceed to your domain’s DNS settings on your domain provider.
- Create two new DNS entries, with the following values:
- If your DNS Records were properly configured, you’ll notice a change in your domain’s status, making it available to the internet.

- Open your brand new domain and see your page online.
Conclusion
Now you can share with your friends and family 👏, congratulations on your brand new app! I want to showcase your application in TurboStack Home Page, you can send me an email with the subjectShowcase my app - {{APP_NAME}}
I wish the best of luck to your new app.
Cheers! Vitor