> ## Documentation Index
> Fetch the complete documentation index at: https://docs.turbostack.io/llms.txt
> Use this file to discover all available pages before exploring further.
# E-mails
> At the end of this tutorial, you'll have a resend account ready for deploy
You don't have to use Resend, but you'll need an email tool to setup your transactional emails
TurboStack uses [Resend](https://resend.com) to send transactional emails by default. They have an amazing documentation that allows you to setup your account quickly, just like TurboStack.
## First things first
1. Create your account on [Resend](https://resend.com/login)
2. At "Overview" tab, you'll see the following image:
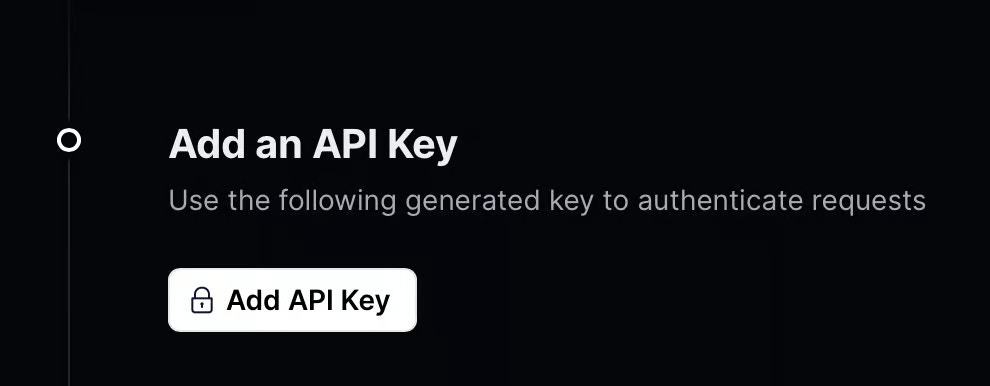 3. Click the button and then copy the generated key into your `.env.local`file:
```bash .env.local theme={null}
RESEND_API_KEY={{YOUR_API_KEY}}
```
4. You can now click the "Send Email" button to confirm everything is fine.
## Validate your domain at Resend
1. Go to the ["Domains" page on Resend](https://resend.com/domains).
2. Click "Add domain" button and enter your domain name.
3. Click the button and then copy the generated key into your `.env.local`file:
```bash .env.local theme={null}
RESEND_API_KEY={{YOUR_API_KEY}}
```
4. You can now click the "Send Email" button to confirm everything is fine.
## Validate your domain at Resend
1. Go to the ["Domains" page on Resend](https://resend.com/domains).
2. Click "Add domain" button and enter your domain name.
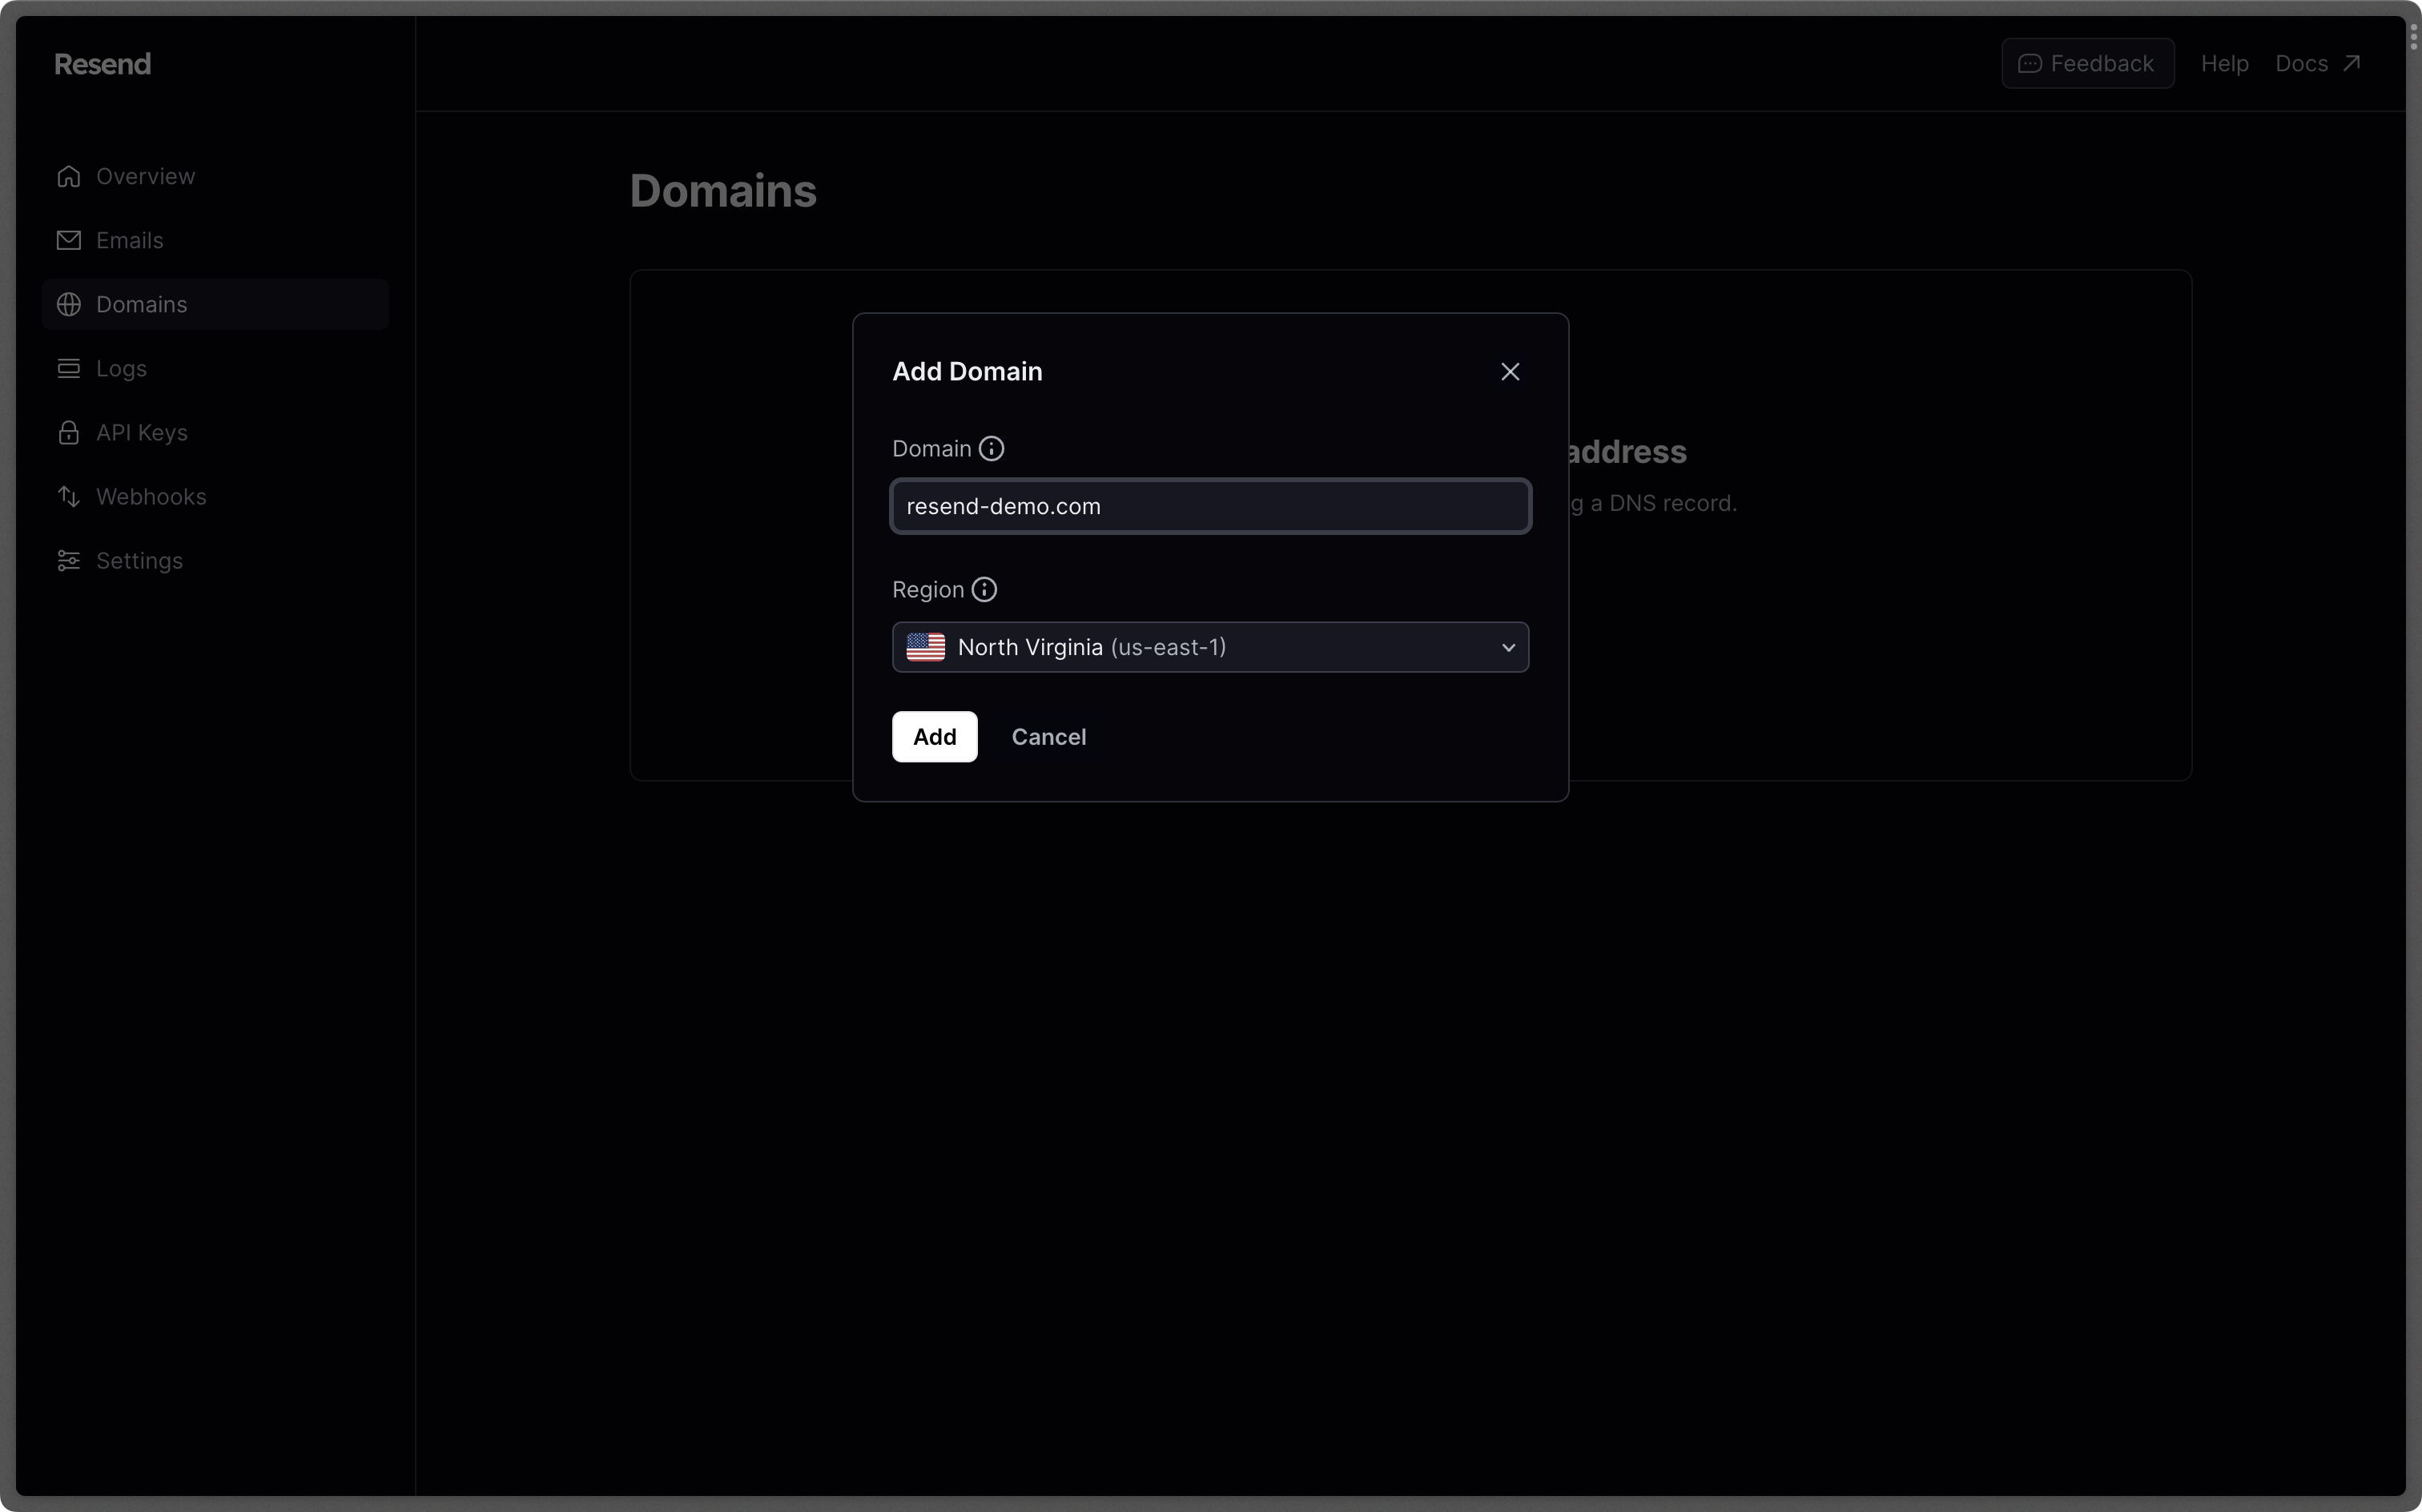 3. You'll then see instructions to add 3 DNS entries at your Registrar.
4. After adding them at your Registrar, you can click the "Verify DNS Records button.
5. When the DNS line status go from "Pending" to "Verified" you'll be done.
## Creating an Audience to collect leads
Collecting leads is an important task to any Indie Hacker. [Resend](https://resend.com) help us with an "Audience", allowing us to Manage subscribers of a given account.
To create an audience, do the following steps:
1. Go to the ["Audience" page on Resend](https://resend.com/audiences)
2. Create an "Audience" and give it a name of your choice.
3. Copy the generated `audience_id` to your `.env.local` file:
```bash .env.local theme={null}
RESEND_AUDIENCE_ID={{YOUR_AUDIENCE_ID}}
```
4. You can now use the endpoint `/api/leads` to collect leads to your audience programatically:
```tsx apps/web/components/lead/lead-form.tsx theme={null}
```
3. You'll then see instructions to add 3 DNS entries at your Registrar.
4. After adding them at your Registrar, you can click the "Verify DNS Records button.
5. When the DNS line status go from "Pending" to "Verified" you'll be done.
## Creating an Audience to collect leads
Collecting leads is an important task to any Indie Hacker. [Resend](https://resend.com) help us with an "Audience", allowing us to Manage subscribers of a given account.
To create an audience, do the following steps:
1. Go to the ["Audience" page on Resend](https://resend.com/audiences)
2. Create an "Audience" and give it a name of your choice.
3. Copy the generated `audience_id` to your `.env.local` file:
```bash .env.local theme={null}
RESEND_AUDIENCE_ID={{YOUR_AUDIENCE_ID}}
```
4. You can now use the endpoint `/api/leads` to collect leads to your audience programatically:
```tsx apps/web/components/lead/lead-form.tsx theme={null}
```